 Browse by PRODUCT LINES
 All product lines
 Search products
 In the spotlight
Setting shower pan beds fast and installing tiles quickly have been a concern for contractors who are given a tight installation schedule. With that said, the answer to this blog’s title is yes – a shower pan can be built, set and ready for tiles in one day by using MAPEI’s Planislope RS mortar.
Please note that the steps below assume that a liquid-applied membrane and traditional clamping ring drain are used. Variations exist in materials and methods, so it is important to consider the following as a general information reference.
The first step is to determine the depth of the shower pan. After the drain is set into the shower floor, measure the height from the subfloor to the top edge of the drain, deducting the thickness of the mortar bond coat and tile being installed.
Remember, the shower pan will need to have a slope of 1/4" (6 mm) per foot (sometimes more for pebbles or other irregular-shaped tiles) for the water to drain properly. Take into consideration that the farther the walls are from the drain, the higher the bed will need to be along the walls.

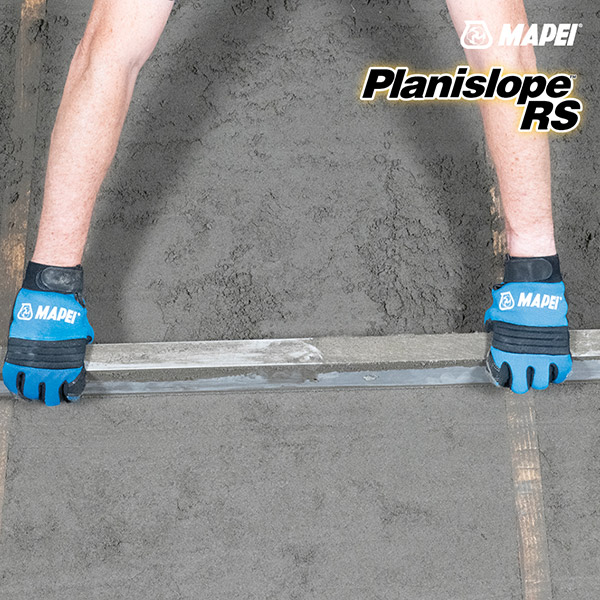
Once the shower-pan thickness and slope are determined and the need for the shower pan to be completed in one day is established, Planislope RS is the right product that should be used for this application. Planislope RS is a rapid-setting, cement-based, polymer-modified mortar for use in sloping and thick-bed mortar installations up to 3" (7.5 cm) thick.
The shower-pan installation can be done in a few stages. First, apply a slurry (a loose layer that is spread with a 1/4" x 1/4" x 1/4" [6 x 6 x 6 mm] trowel) of a polymer-modified mortar to the shower floor to create a direct bond to the subfloor. Now, while the slurry is still fresh/wet, the first part of the bed will need to be set with Planislope RS, which will need to be sloped from the wall to about 4" (10 cm) away from the drain in all directions and finished at a steep angle to the base of the drain (see CAD drawing).
After that layer of the shower pan dries (about 2 hours or so, depending on temperature and humidity), apply two coats of MAPEI’s Mapelastic AquaDefense waterproofing membrane to the full height of the tile being installed and down to the drain base covering at the flange of the drain, which creates a seal for the shower pan. Once the clamping ring drain is screwed in and set to the proper height around the flange, apply appropriate weep protection at the base of the drain.
A second application of Planislope RS can now be applied in the 4" (10 cm) gap around the drain and sloped properly to the drain. Once that layer is completed and dried (about 2 hours), shower floor tile can be installed with a recommended polymer-modified mortar, depending on the composite and size of the tile.
Preparation and execution go hand in hand to obtain the best possible solution to any situation. Knowing that time is always of the essence, MAPEI has a solution for any application.
For more information, call MAPEI’s Technical Services Department at 1-800-992-6273 and talk with one of our experienced technical advisors.


Technical Services at 1-800-992-6273
Customer Service at 1-800-426-2734 (1-800-42-MAPEI)
Comments
Load more comments