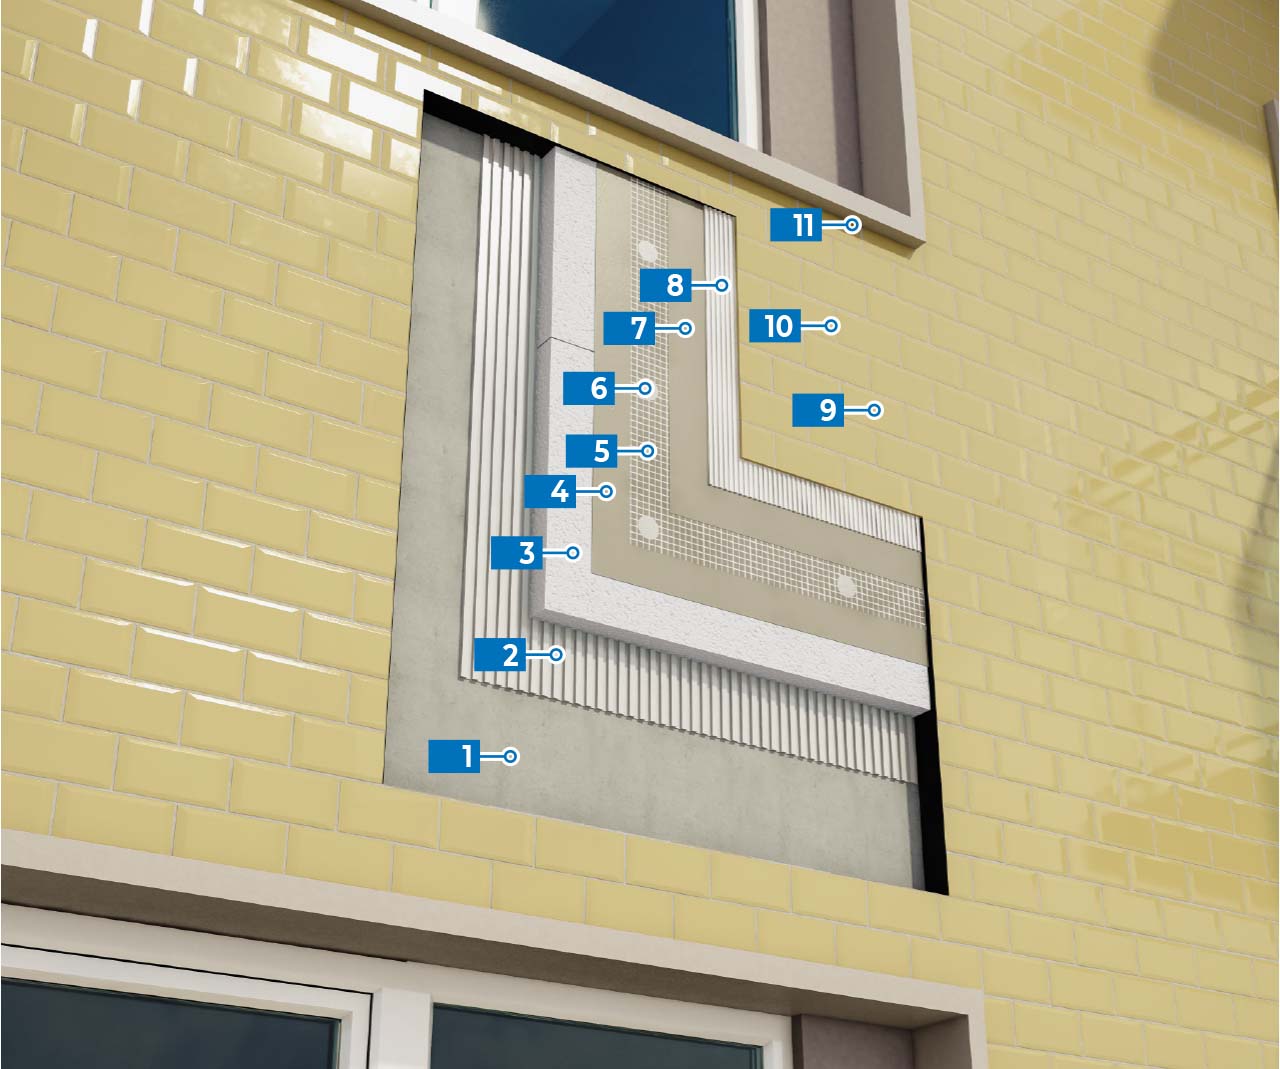
Apply the adhesive using the double-buttering method (an even layer of adhesive on the back of the panels and on the substrate) with a suitable 10-12 mm square-notched trowel.
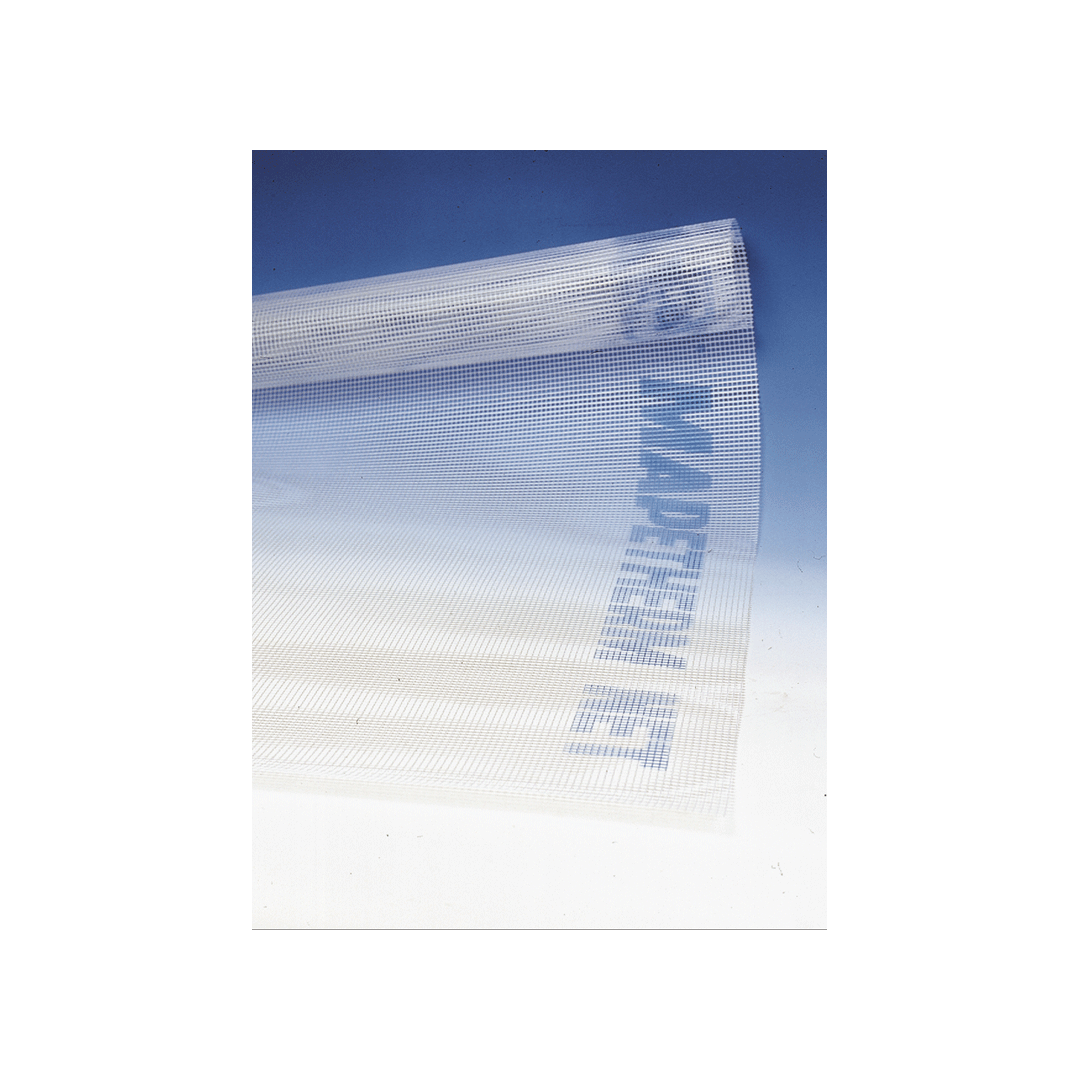
Place the glass fibre reinforcing mesh treated with special alkali-resistant primer on the first layer of skimming mortar while still fresh, overlapping adjacent pieces of mesh by 10 cm.
6
Fastener + washer MAPETHERM TILE-EJOT SDF-S PLUS Ø 8 UB + MAPETHERM TILE-EJOT SBV-P 8/90 K
Fasten the panels to the substrate with the fasteners and special washers. Insert the fasteners until the washers are sitting against the mesh.
Apply the adhesive on the substrate with a notched trowel suitable for the type and format of the tiles to ensure the back of the tiles is sufficiently wetted. Use the double-buttering method where specified by UNI 11493-1.
Once the adhesive has set, for porcelain or clinker tiles, carefully fill the grouts to their full depth using a rubber trowel without leaving gaps or steps. Use a product such as MAPEWALL MURATURA FINE to grout strips of terracotta.