Over the past decade, tile trends have drastically changed in style, texture, color variation and, most importantly, size. Large-format tile was the biggest continuing trend of 2020, going strong into 2021 – from 24" x 48" (61 x 122 cm) mega tiles to 118" (300 cm) long porcelain panels.
It’s easy to see why this style is so popular: Installing these massive tiles means fewer grout lines, which allows for a seamless transition across the surface and creates a sleek/ modern space. This is true for floors, walls and countertops alike in residential kitchens, bathrooms and living spaces, as well as large commercial projects with high-traffic areas like shopping malls, hotels and restaurants.
Small tiles are typically set with thinset mortars. The Terrazzo, Tile and Marble Association of Canada (TTMAC) notes, for example, that Thin Set installation calls for "dry set mortar meeting or exceeding requirements of ANSI A118.1 formulated for thin set applications,..." in its 09 30 00 2019-2021 specifications manual.
Tile set by the thinset method is adhered to the substrate with a thin layer of "thinset" mortar. This type of mortar is designed to adhere well in a thin layer - typically not greater than 3/16" (4.5 mm) thick. Tile substrates are allowed 1/8" (3 mm) of variation from one area to another (and typically have more than that). Large tiles are allowed almost 1/8" (3 mm) of bow from the edges to the middle. Adding those together, you realize that there can be almost 1/4" (6 mm) of gap which can't be filled with 3/16" (4.5 mm) of mortar.
These mortars are designed to do two things well: be applied thicker and not to shrink much while they cure. The first part of this equation requires the mortar to be thixotropic. While they are being troweled or the tile is being adjusted, the mortar acts like a liquid. Once the movement has stopped, they act like a solid - holding the tile in place either vertically or horizontally. You can think of this like ketchup; shake the bottle and it moves, stop shaking and it doesn't. By tinkering with the chemistry of the mortar, we can adjust its thixotropic behavior. Once thixotropy is holding the tile in place, it needs to stay there while it cures to avoid lippage. This is done by adding ingredients to reduce shrinkage during curing.
Of course, the benefits of a thixotropic mortar that holds the tile in place firmly can only be realized with steady-handed precision during tile placement. To that end, installers have long appreciated the benefits of using edge-leveling clip systems when setting the tiles. MAPEI recently added products that can make it quicker and easier to attain that precision placement with the MapeLevel EasyWDG System, designed for both floors and walls.

This ergonomically-shaped system can be applied entirely by hand, and is reusable. Quick and easy to apply, the wedge and clips can prevent tile lippage and promote a flat tile surface. The system works in three stages:

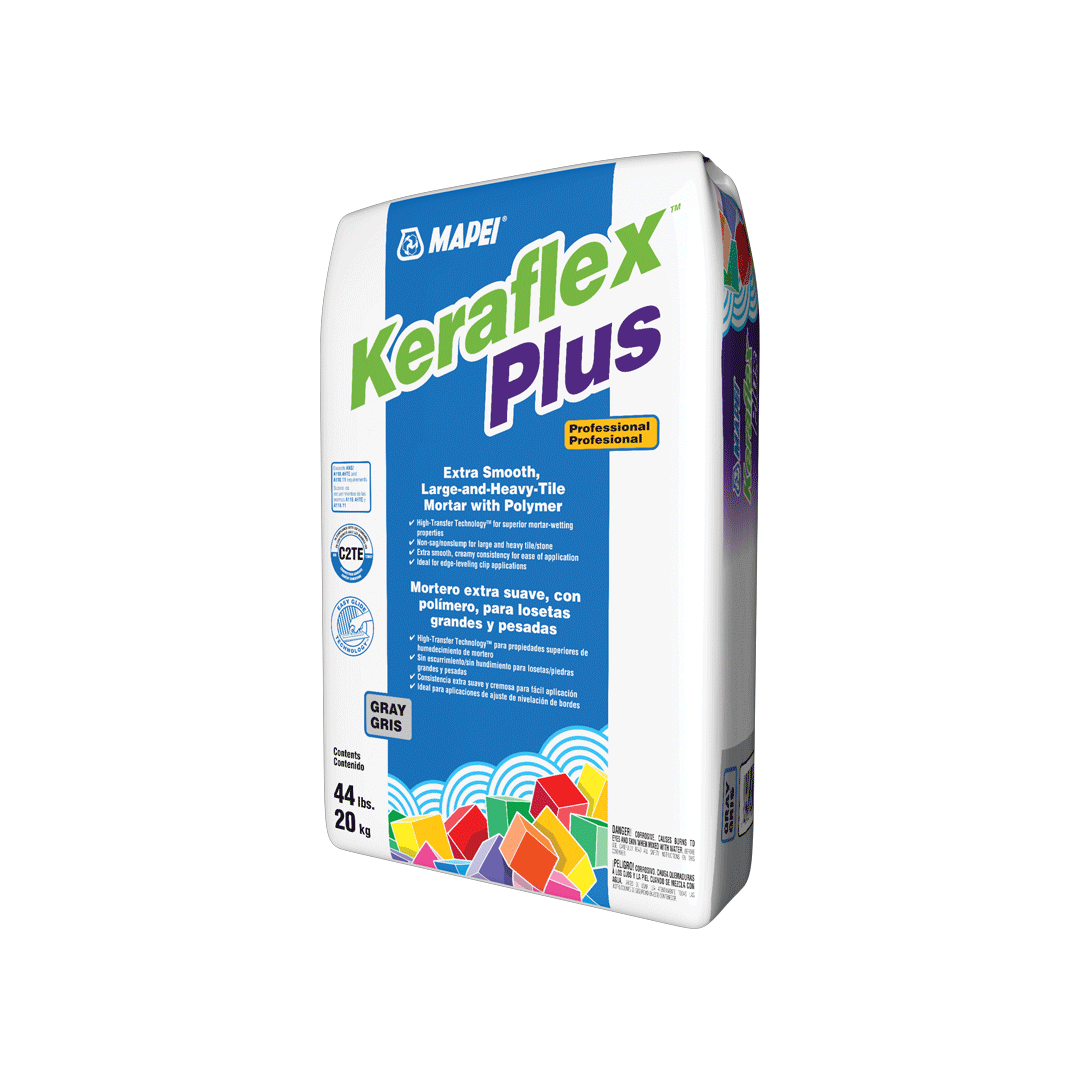
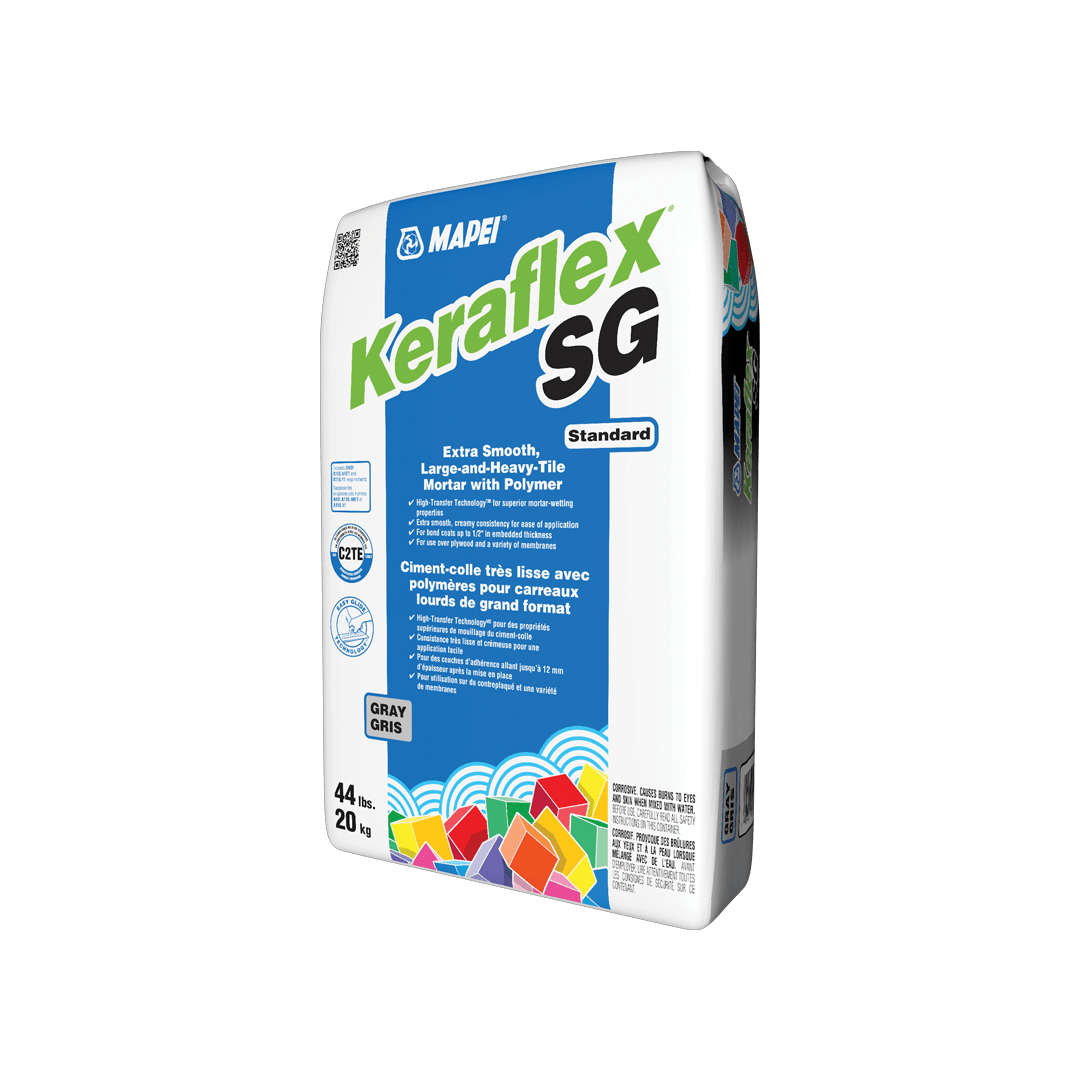
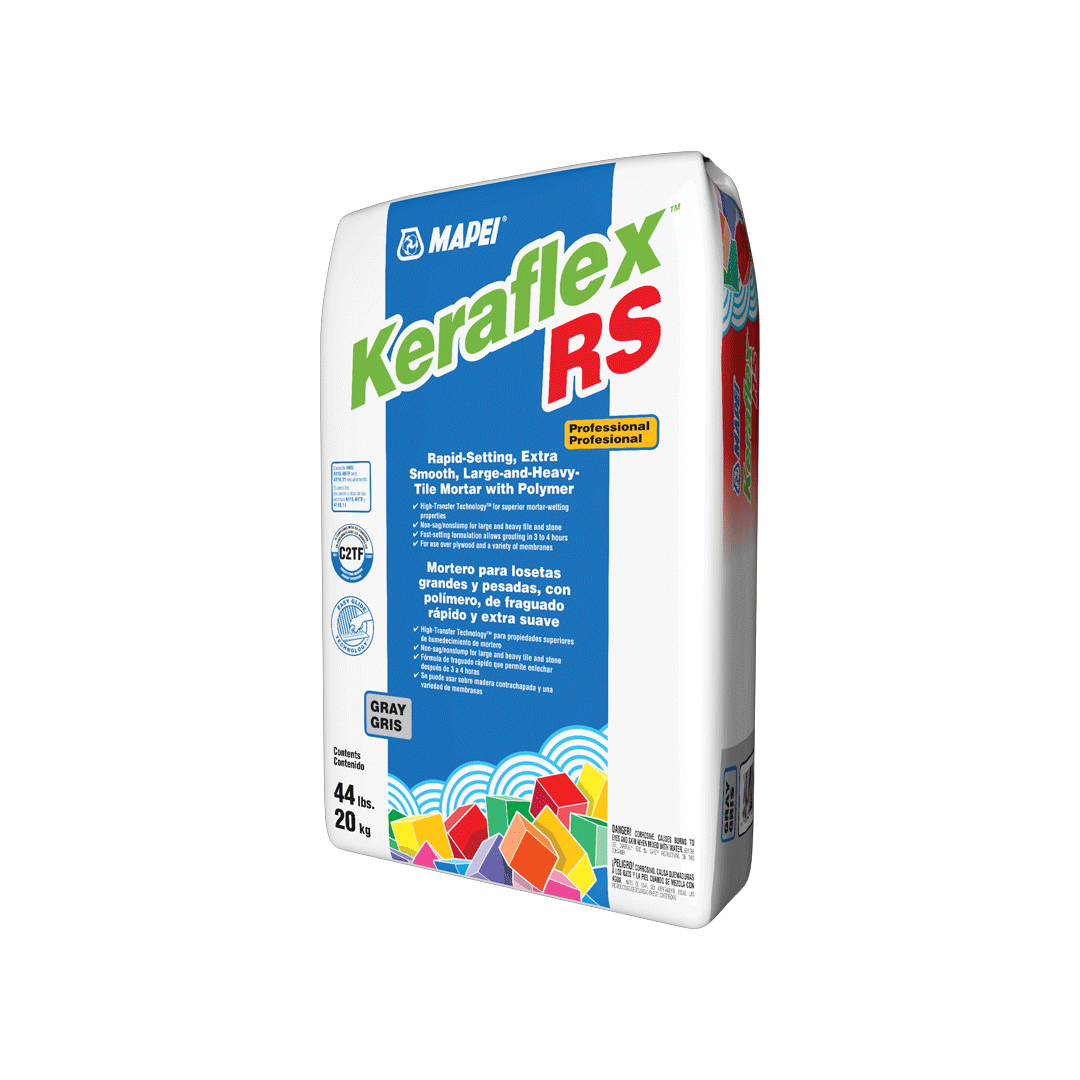
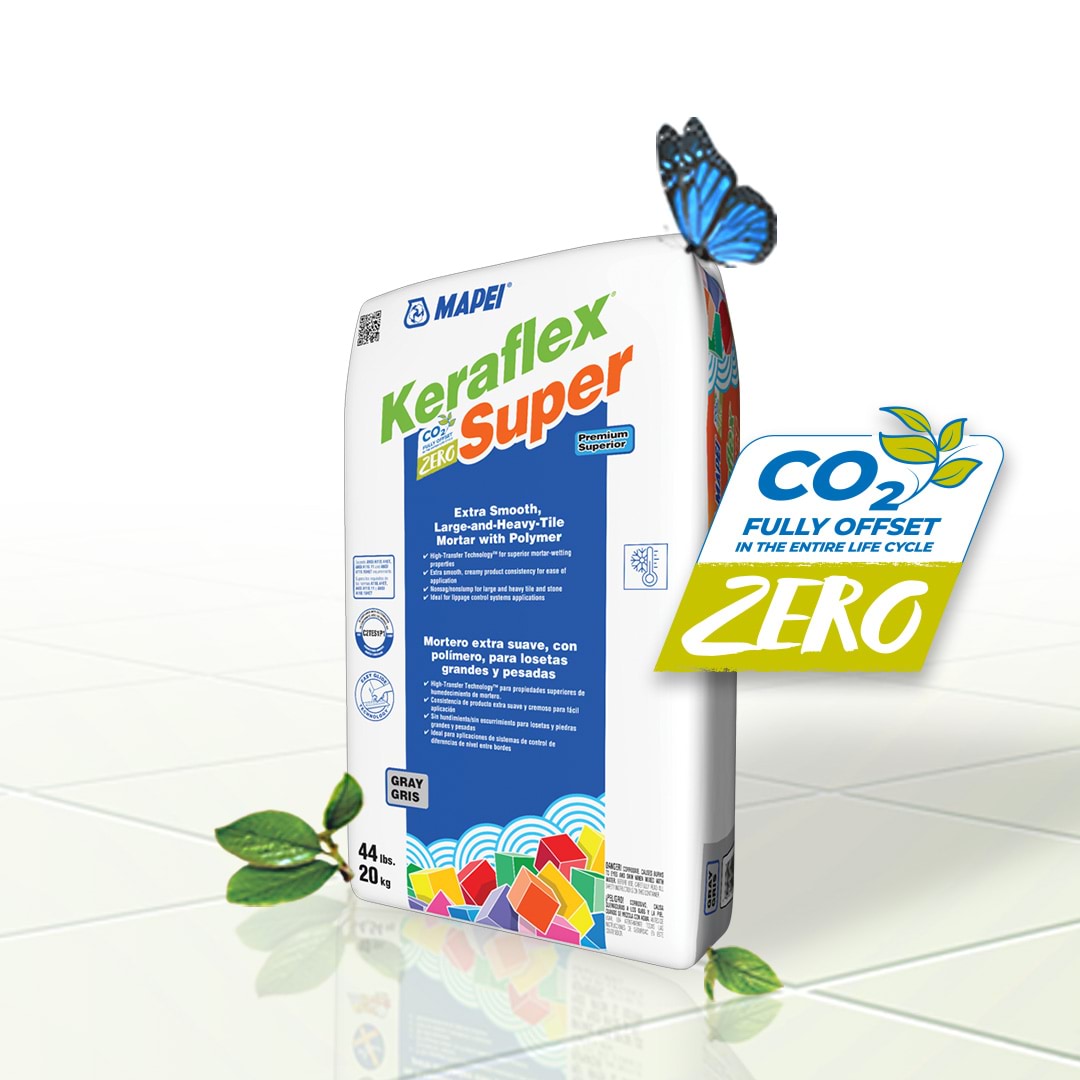
To meet the high demands of these new tile styles, MAPEI Canada introduced the Keraflex family of mortars in 2019, and they proved to be so popular with installers, our American counterparts launched the line south of the border last year themselves: Keraflex Super, Keraflex Plus, Keraflex SG and Keraflex RS. These highly versatile mortars are ideal for large and heavy tiles, including ceramic, porcelain and gauged tile.
The introduction of the Keraflex mortar series offers the advantage of consolidation, simplification and versatility to the distributor, retailer and contractor, allowing the opportunity to streamline their mortar selection offering.
The ever-evolving tile industry requires revolutionary products with exceptional quality and tangible benefits for installers. The Keraflex family was developed to address changes in the tile types and sizes as well as substrate requirements in previous eras. Plus, the Keraflex mortars are installer-friendly, offer flexibility and multifunctionality, and are purposefully designed to meet specific jobsite needs.
These mortars are formulated with Easy Glide Technology™ for extreme ease of application (reducing fatigue during installation) and with a consistency that allows adjustability when used with lippage control systems. They can also be used over uncoupling, crack-isolation, sound-reduction and waterproofing membranes. Each mortar features MAPEI’s High-Transfer Technology, providing maximum coverage for high-bond adhesion strength.
• High-Transfer Technology with impressive non-sag/nonslump properties, along with high bond adhesion strength – perfect for large and heavy tiles
• Easy to trowel, which requires 70% less effort and reduces application times
• For bond coats up to 1/2" (12 mm) in embedded thickness
• Superior mortar-wetting properties
• Water and frost resistance (Keraflex Super is highly resistant to freeze/thaw conditions)
• Ideal for use with edge-leveling clip systems
• Easy to mix: Products blend quickly and easily to a lump-free consistency
• Easy to trowel, with a buttery texture that requires much less effort
Subscribe to our newsletter to get Mapei news


Comments
Load more comments